How to Light a Pilot Light on A Water Heater
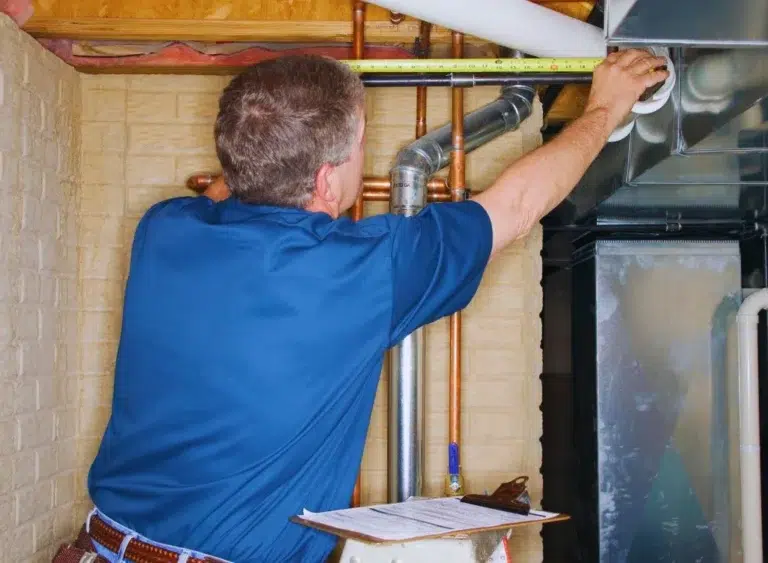
How to Lite a pilot Light on a Water Heater – The ability to produce hot water on demand is one of the unsung heroes of modern convenience, thanks to your trusty gas water heater. However, if the pilot light on your water heater goes out, it means your water won’t heat, leaving you with a cold shower and a heap of unwashed dishes. In this post, we will guide you on how to relight the pilot light on your water heater, ensuring you can enjoy hot water once again. However, it’s essential to remember safety; if there’s a potential gas leak or a damaged flame sensor, it’s imperative to call a professional plumber immediately.
Identifying a Problem with the Pilot Light
To begin, let’s outline three primary signs that there might be an issue with your water heater’s pilot light:
- Cold Water: If your water isn’t heating up as expected, it could signal an issue with the pilot light.
- Error Message: Some modern water heaters provide an error message or a blinking light when there’s a problem. If the message or light indicates a pilot light issue, it’s time to inspect further.
- Visual Absence of Flame: A straightforward visual check can also identify if the pilot light is out. Underneath your heater, you’ll see a gap where the flame should be visible when functioning correctly.
Additionally, the pilot light can frequently extinguish if dirt accumulates around the opening, affecting the flame’s quality. A healthy pilot light exhibits a steady blue flame, whereas a yellow or orange, wavering flame can indicate dirt and pollutants at the opening.
The pilot light also maintains the thermocouple’s warmth, enabling gas flow. If the thermocouple is dirty or malfunctioning, it won’t respond correctly to the generated heat, resulting in a gas supply shut-off and the subsequent extinguishing of the pilot light.
Relighting the Pilot Light Safely
Before attempting to relight the pilot light, ensure there are no gas leaks, as igniting a flame in these conditions can be hazardous.
Here are the steps to check for a gas leak in your water heater’s line:
Once you’ve confirmed there’s no gas leak, you can start the process of relighting the pilot light. Make sure you have a flashlight handy to aid your visibility. Follow these steps:
- Open the cover to access the pilot light.
- Turn the gas knob to point towards ‘Pilot.’
- Hold down the gas knob while using the ignition switch to ignite.
- Once the flame is on, slowly release the knob and turn the gas knob to ‘On.’
While these steps might sound simple, they must be carried out with the utmost care and caution. If you’re uncertain or uncomfortable with relighting the pilot light yourself, reach out to professional help.
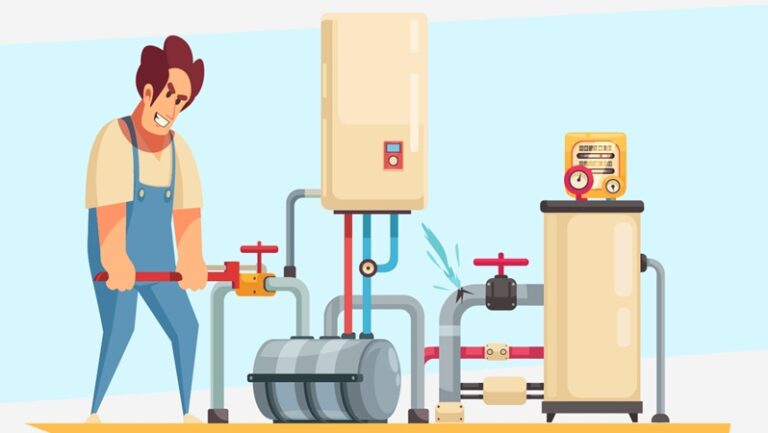
Experiencing problems with your pilot light or need expert advice on how to correctly relight it? Don’t hesitate to reach out to the team of professionals at A Clear Choice Plumbing & Heating LLC. We’re equipped to handle these situations safely and efficiently, ensuring you regain your hot water supply without risking your safety.